How Often Should You Water Aloe Vera? A Ultimate Guide
Aloe Vera, the succulent with myriad benefits, is a staple in homes for its easy care and medicinal properties. Yet, even with its resilience, one question often arises: “How often should you water aloe vera?” Finding the right balance is key to ensuring your green companion not only survives but thrives.
Understanding Aloe Vera’s Natural Habitat
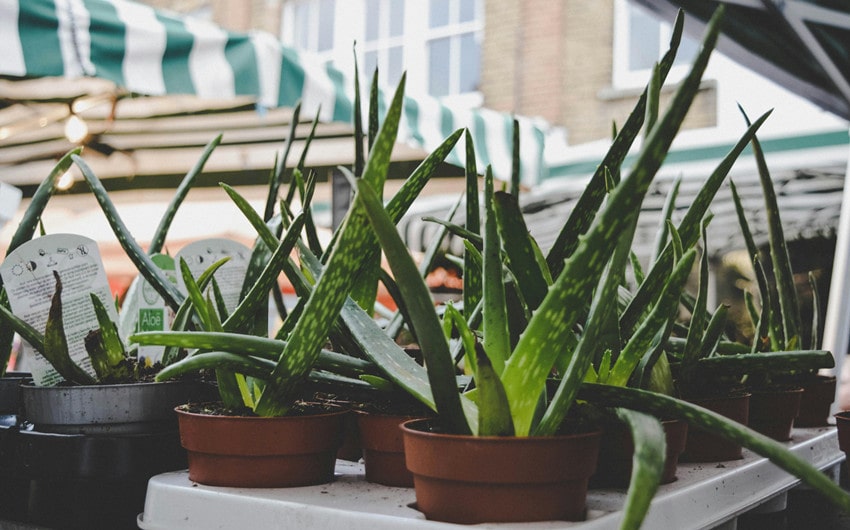
To truly understand “how often should you water aloe vera,” one must appreciate its origins. Aloe Vera hails from the Arabian Peninsula, an environment characterized by hot, sunny days and minimal rainfall. This desert landscape taught Aloe Vera to store water within its thick, fleshy leaves, enabling it to survive long periods of drought.
In its natural setting, Aloe Vera experiences rain in bursts. Watering is infrequent but heavy, allowing the plant to soak up and store moisture in its leaves. The soil around the roots dries out completely between rainfall, which is critical for preventing root rot.
This survival mechanism influences its care in a home setting. Mimicking the natural “feast or famine” watering pattern can help your Aloe Vera thrive. It’s adapted to make the most of rare watering, which is why the soak and dry method of watering is recommended for these plants in a domestic environment.
Before Planting: Preparing for Your Aloe Vera
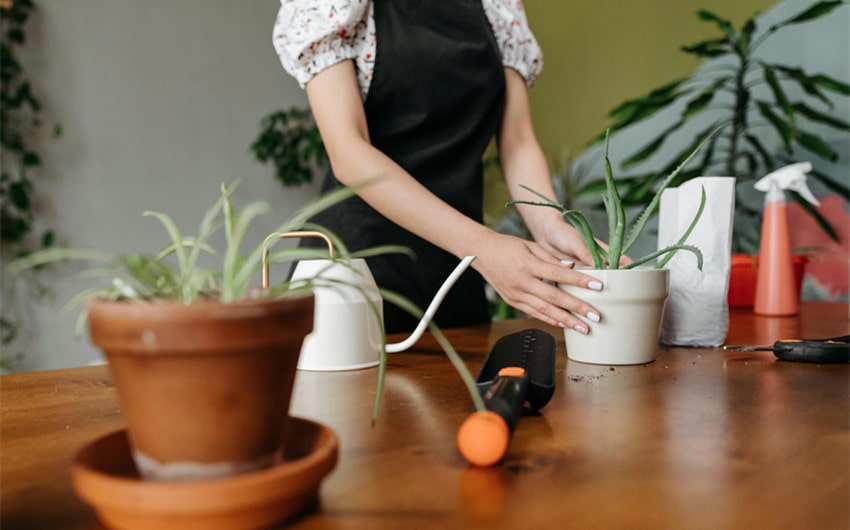
Embarking on the Aloe Vera journey starts well before the first drop of water touches its roots. The preparatory steps are crucial for setting up your Aloe Vera for success.
Choosing the Right Aloe Vera Plant
begins with a visit to your local nursery or garden center. Look for plants with thick, green leaves that are free from spots, blemishes, or too much fading. If you’re considering adopting a pup (a young offshoot from a mature plant), ensure it has developed roots, which will increase its chance of thriving once replanted. For those wanting to start from scratch, seeds can be a fun, albeit slower, route to growing your own Aloe Vera.
Choosing the Right Pot
is a pivotal decision in the life of your Aloe Vera. Terra cotta pots are favored for their porous nature, allowing soil to dry more consistently than plastic or glazed containers. The pot should be slightly larger than the plant’s root ball, ensuring it has room to grow but not so large that the soil retains excessive moisture. Drainage holes are a must to prevent water from pooling at the bottom.
Soil Preparation
is where the magic happens. Aloe Vera thrives in well-draining soil that mimics the sandy, rocky soils of its natural habitat. A mix of potting soil designed for cacti and succulents, combined with perlite or coarse sand, offers the ideal texture and drainage. This special soil mix ensures that water flows freely, reducing the risk of root rot.
Understanding Your Environment
requires a bit of observation and planning. Aloe Vera loves bright, indirect sunlight. East or west-facing windows are typically ideal spots, offering the light without the harsh midday sun. The temperature should be warm, between 55°F (13°C) and 80°F (27°C), which is comfortable for most homes. If you live in a particularly humid or dry area, consider a small humidifier or dehumidifier to maintain moderate humidity levels around your plant.
Signs of Overwatering and Underwatering
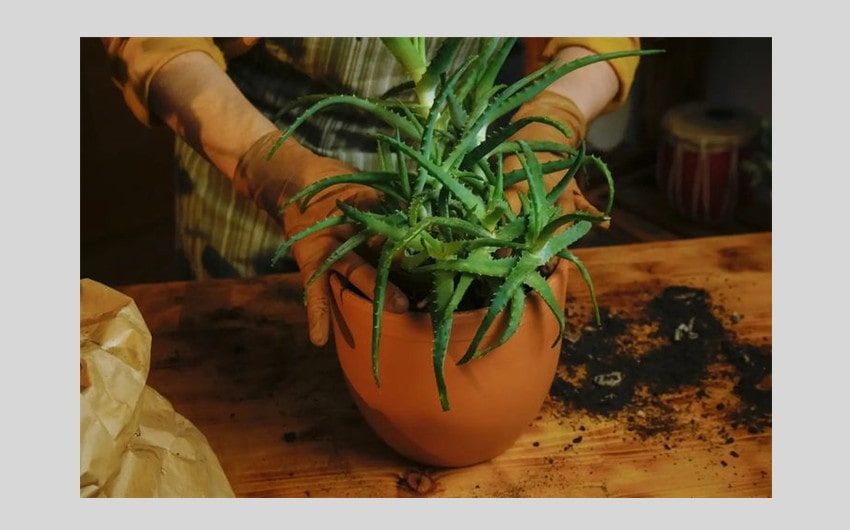
Image source: Pinterest
Recognizing the signs of overwatering and underwatering is essential for maintaining the health of your Aloe Vera. These signs are your plant’s way of communicating its needs, and understanding them can help you adjust your care routine accordingly.
Signs of Overwatering
- Soft, Mushy Leaves: Overwatered Aloe Vera leaves become swollen with water, leading to a soft, mushy texture. Unlike the firm, plump leaves of a healthy plant, these leaves may also appear discolored.
- Root Rot: A grave consequence of overwatering. If the plant’s base is soft or the soil has a foul smell, these could be indicators of root rot. This condition can fatally damage the plant if not addressed promptly.
- Yellowing Leaves: Leaves turning yellow and wilting is a common sign of too much water. Overwatered Aloe Vera cannot breathe properly, leading to suffocation and chlorosis.
Signs of Underwatering
- Shriveled Leaves: A clear sign of underwatering. Aloe Vera stores water in its leaves, and when it doesn’t receive enough, the leaves start to consume this stored water, leading to a shriveled appearance.
- Dry, Brittle Roots: Underwatered plants will have roots that are dry to the touch and may easily break. Healthy roots should be pliable and firm.
- Slow Growth or Stunted Growth: While Aloe Vera is not a fast-growing plant, noticeable slow or stunted growth could indicate a lack of water.
How Often Should You Water Aloe Vera
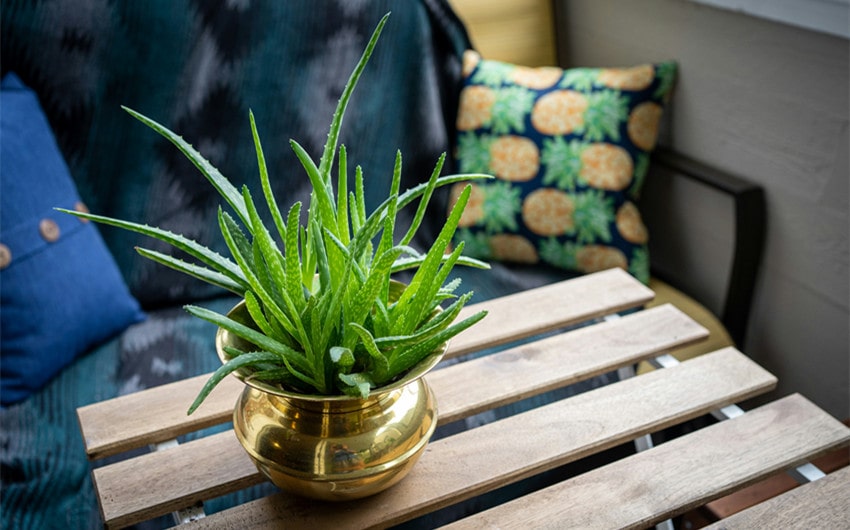
The frequency of watering your Aloe Vera is influenced by various factors including the climate, the season, the pot size and material, soil composition, and the size of the plant itself.
General Guidelines
Summer: This is when your Aloe Vera will be in its active growth phase and can be watered more frequently—about once every 2-3 weeks. Always allow the soil to completely dry out between waterings.
Winter: During the cooler months, Aloe Vera enters a dormant phase and uses less water. Reduce watering to once every 4-6 weeks, ensuring the soil is dry before watering again.
Adjusting Watering Frequency
Pot Size and Type: Smaller pots dry out faster than larger ones. Terra cotta pots allow for more evaporation compared to plastic pots, affecting how quickly the soil dries.
Soil Composition: A well-draining soil mix will dry out faster than a denser, less porous one. Adjust your watering schedule based on how quickly the soil dries out.
Environmental Factors: High temperatures, low humidity, and direct sunlight can increase the frequency of watering, as these conditions cause the soil to dry out faster.
The Soak and Dry Method
For best results, employ the soak and dry method. When watering, do so thoroughly, allowing water to run out of the drainage holes at the bottom of the pot, ensuring the roots have been fully saturated. Then, wait until the soil is completely dry before watering again. This method mimics the natural rainfall patterns Aloe Vera is accustomed to, providing a deep watering followed by a period of drought.
By paying close attention to your plant’s environment and adjusting your watering schedule accordingly, you can maintain the perfect balance of moisture for your Aloe Vera. Remember, when it comes to watering Aloe Vera, it’s better to err on the side of underwatering than overwatering, as this mimics their natural arid conditions and survival strategies.
Best Practices for Watering Aloe Vera
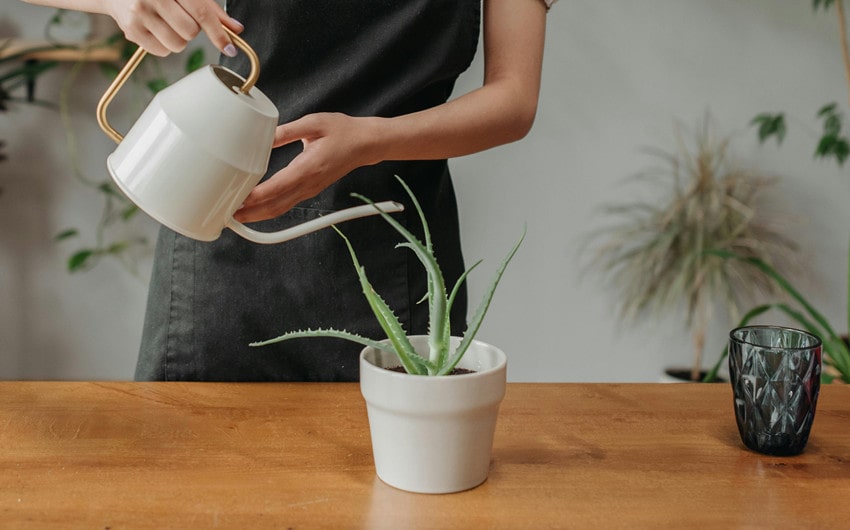
Watering Aloe Vera correctly is not just about frequency; it’s also about technique and water quality. Here are some best practices to ensure your Aloe Vera receives the optimal amount of water without the risk of common issues like root rot.
The Soak and Dry Method
Utilize the soak and dry method to mimic natural rainfall. Water the plant thoroughly until water drains out of the bottom of the pot. This ensures the roots are adequately hydrated. Allow the soil to completely dry out before the next watering session. This method encourages deep root growth and prevents water from sitting at the roots, which can cause rot.
Morning vs. Evening Watering
Water your Aloe Vera in the early morning. This timing allows water to evaporate through the day, reducing the risk of waterlogging and root diseases. Evening watering can leave water to sit through the cooler night temperatures, which can lead to fungal diseases.
Quality of Water
The type of water you use can impact the health of your Aloe Vera. Tap water, especially if it’s hard, can accumulate salts in the soil over time, potentially harming the plant. Using rainwater, distilled water, or filtered tap water can prevent this buildup and support healthier growth.
Additional Care Tips Beyond Watering
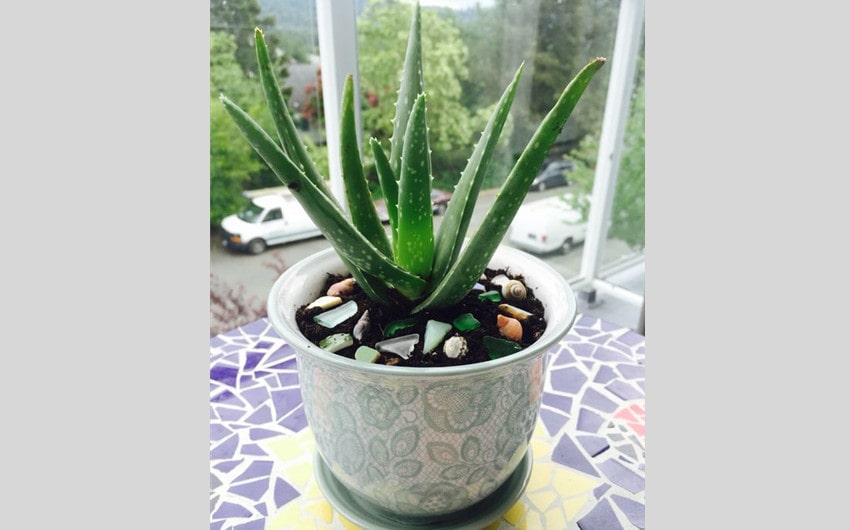
Image source: Pinterest
Aloe Vera’s care requirements extend beyond proper watering. To ensure your plant thrives, consider the following additional care tips:
1. Sunlight and Placement
Aloe Vera requires bright, indirect sunlight to grow well. Direct sunlight, especially during the hottest part of the day, can scorch its leaves, while too little light can weaken the plant. A spot near a window that receives a few hours of gentle sunlight is ideal. Rotate your plant periodically to ensure even growth on all sides.
2. Temperature and Humidity
Aloe Vera prefers temperatures between 55°F (13°C) and 80°F (27°C). It can tolerate higher temperatures but should be protected from cold drafts and temperatures below 50°F (10°C), as it is not frost-tolerant. Average home humidity is adequate for Aloe Vera, but if your home is very dry, a pebble tray or occasional misting can help increase humidity.
3. Soil and Repotting
Use a well-draining potting mix designed for cacti and succulents. Repot your Aloe Vera when it becomes root-bound or the soil has degraded, typically every 2-3 years. Choose a pot only slightly larger than the current one to prevent excessive moisture retention in the soil.
4. Fertilizing
Aloe Vera does not require frequent fertilization. Feeding it with a balanced, water-soluble fertilizer at half strength once in the spring and again in the summer is sufficient. Over-fertilizing can damage the plant, so it’s best to err on the side of caution.
5. Pest and Disease Management
Keep an eye out for common pests such as aphids, spider mites, and scale insects. A gentle wash with soapy water or an application of neem oil can manage these pests. Prevent diseases by ensuring the soil is well-draining and the plant is not overwatered.
By following these best practices for watering and providing comprehensive care, your Aloe Vera can grow to be strong, healthy, and vibrant. Remember, the key to successful Aloe Vera care lies in mimicking its natural environment as closely as possible and adjusting your care routine to the specific needs of your plant and local climate conditions.
Common Mistakes to Avoid
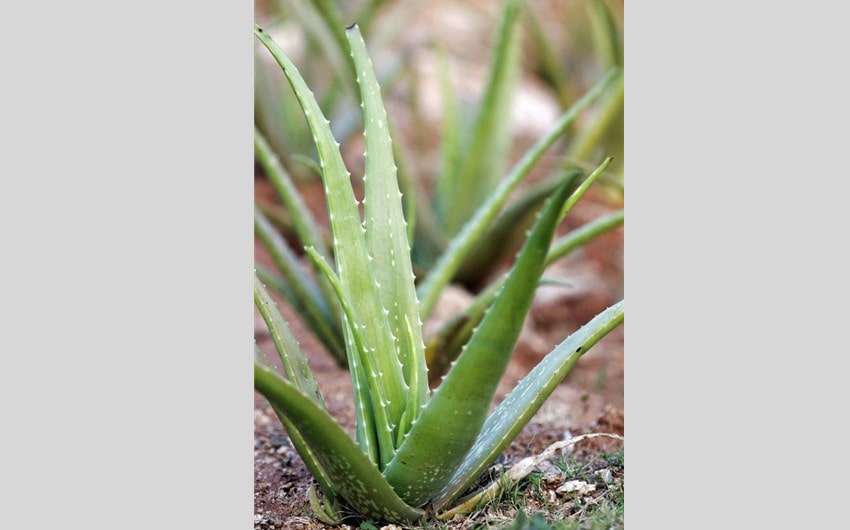
Image source: Pinterest
Avoiding common mistakes in Aloe Vera care can be the difference between a thriving plant and one that struggles to survive. Here are some widespread errors to watch out for, ensuring your succulent remains healthy and vibrant:
1. Overcompensating with Water After a Period of Neglect
One of the most frequent missteps is watering Aloe Vera too much after it’s been underwatered or neglected for a while. This sudden change can shock the plant, leading to root rot and other health issues. If your plant has been underwatered, gradually reintroduce water to its routine, allowing it to adjust without overwhelming it.
2. Using a Pot Without Proper Drainage
A pot without drainage holes traps water, creating a soggy environment around the roots of your Aloe Vera, which is detrimental to its health. This mistake can lead to root rot, one of the main killers of houseplants. Always choose pots with one or more drainage holes, and if you use a decorative pot without holes, consider it as a cachepot and place a functional pot inside it.
3. Ignoring the Signs of Stress in Your Aloe Vera Plant
Aloe Vera plants communicate their discomfort through their leaves. Ignoring signs of distress, such as discoloration, drooping, or drying, can lead to worsening conditions. Regularly inspect your plant for any signs of overwatering or underwatering, pests, diseases, or environmental stress. Early detection and correction of these issues can save your plant.
4. Watering on a Rigid Schedule
Adhering to a strict watering schedule disregards the plant’s actual needs, which can vary based on environmental conditions, seasons, and the plant’s growth stage. Watering should always be based on the condition of the soil, not the calendar. Ensure the soil is completely dry before watering again.
5. Not Adjusting Care with Seasonal Changes
Aloe Vera, like most plants, goes through growth phases and dormancy, influenced by seasonal changes. It may require more water during its active growth phase in the spring and summer and less during the dormant winter months. Failing to adjust your watering routine and care practices with the seasons can stress your plant.
6. Overlooking Pot and Soil Compatibility
Using the wrong type of pot or soil mix can have detrimental effects on your Aloe Vera. Non-porous pots and dense, water-retentive soils can retain too much moisture, leading to root problems. Opt for terra cotta or other porous materials and a well-draining soil mix specifically designed for succulents and cacti.
7. Neglecting to Clean Leaves
Dust and grime can accumulate on the surface of Aloe Vera leaves, blocking sunlight and reducing the plant’s ability to photosynthesize efficiently. Gently wiping the leaves with a damp cloth not only keeps your plant looking its best but also supports its health and growth.
8. Letting the Plant Become Root-bound for Too Long
While Aloe Vera can tolerate being root-bound to some extent, letting it stay in this state for too long can hinder its growth and overall health. Check your plant’s roots annually and repot into a slightly larger container if they’re circling the pot or growing through the drainage holes.
By steering clear of these common mistakes, you can provide a nurturing environment for your Aloe Vera, ensuring it remains a healthy and beautiful addition to your home. Regular observation and adjustment to your plant’s care routine are key to its long-term success.
Conclusion
Caring for Aloe Vera revolves around understanding its needs and habits. “How often should you water aloe vera?” becomes an easy question with a bit of observation and adjustment. Your Aloe Vera can be more than just a plant—it can be a thriving member of your home.


